
Why Is My Ginger Plant Dying and Rotting?
Match the symptom, fix the rot, and still get a harvest.
A ginger plant that is dying and rotting almost always has a problem at or below the soil line: soggy rhizomes, cold damage, or roots that never established. The fix depends on which symptom you see first, so this article starts with a symptom table that points to the cause, then gives the rescue steps for each one. After that come the growing conditions that keep Zingiber officinale healthy, plus harvest, storage and division.
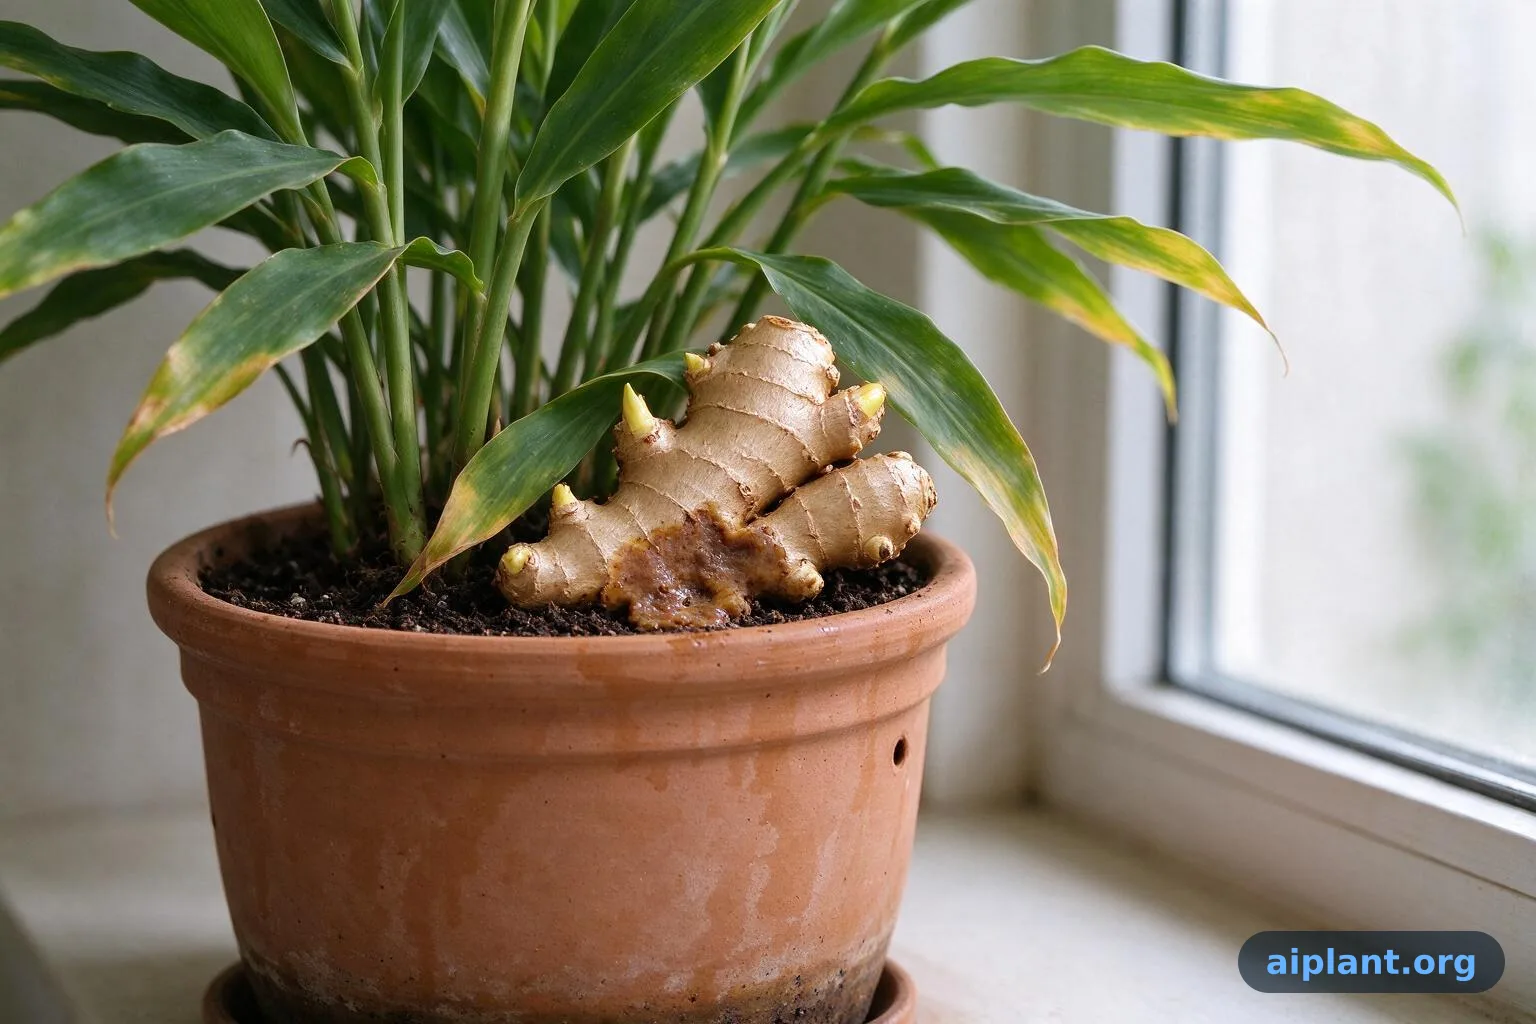
Ginger Rot: The First Three Checks
- Check the rhizome at the soil line: firm and pale yellow is healthy, soft and brown means rot, and the mushy part must be cut away.
- Water only when the top 3 cm (1 in) of soil feels dry; ginger rhizomes rot in soil that stays wet for more than a day or two.
- Keep ginger above 15 °C (59 °F); below 10 °C (50 °F) growth stops and rhizomes soften after a cold night.
Ginger Symptom Table: What You See and What to Fix
Ginger problems show up in a few predictable places: the base of the stem, the leaf edges, the height of the shoots, and the rhizome itself. Use the table below to match what you see to the most likely cause, then read the sub-heading for that symptom for the full fix. Affected leaves are still safe to eat or use: wash them, trim away brown or slimy parts, and cook them as you would healthy leaves. Do not eat a rhizome that is soft, sour-smelling or mouldy inside.
Soft, Mushy Stems at the Soil Line
This is the classic sign of rhizome rot. The stem base feels like a wet sponge, the outer skin sloughs off, and a sour smell comes from the soil. It starts most often in heavy potting mix that stays wet, in containers without drainage holes, or after weeks of overwatering. Less often, cold soil or a fungal pathogen already in the rhizome triggers it. Fix it by lifting the clump, cutting away every soft part with a clean knife until the cut surface is firm and pale, dusting the cuts with cinnamon, and replanting in fresh mix that drains freely. Water sparingly for two weeks, then resume the dry-top check.
Leaves Yellowing From the Bottom Up
Older leaves turning yellow while new shoots stay green is usually a nitrogen shortage or natural aging, not rot. Ginger sheds its oldest leaves as the clump matures, and a plant in a small pot runs out of nitrogen after about eight weeks. Feed with a balanced liquid fertiliser at half strength every two weeks during active growth, and remove yellow leaves at the stem. If the yellowing climbs into new growth with pale veins, the cause is more likely waterlogging or cold roots; check the rhizome before adding more fertiliser.
Tall, Thin Shoots With No Side Shoots
Ginger grown from a small piece in low light sends up one or two spindly shoots and never fills out. The cause is usually too little light (under six hours of bright, indirect sun), a rhizome piece smaller than 3 cm (1.2 in) with only one bud, or a pot so small that the rhizome cannot spread. Move the pot to a spot with morning sun and bright afternoon shade, and repot into a container at least 30 cm (12 in) wide so the rhizome has room to branch. Side shoots appear from the rhizome, not from the stem, so a bigger root zone is what produces a fuller clump.
Stems Collapsed After a Cold Night
Ginger is tropical and stops growing below 15 °C (59 °F); a night at 5–10 °C (41–50 °F) can soften the rhizome and collapse the stems within days. The leaves droop, turn dull green, then brown from the tips. Move potted ginger indoors or into a greenhouse before the first cold night, and for garden clumps, cut the stems back to 10 cm (4 in) and mulch heavily. Do not water a cold, collapsed clump until the soil warms, because wet cold soil turns cold damage into rot.
Fine Webbing and Stippled Leaves
Spider mites are the most common pest on indoor ginger. They leave pale stippling on the upper leaf surface and fine webbing where the leaf joins the stem. Dry indoor air in winter favours them. Wash the leaves with a damp cloth, raise humidity around the pot, and repeat the wipe every five days until no new webbing appears. For heavy infestations, use insecticidal soap on the undersides of the leaves in the evening.
Leaves With Brown Edges and Dry Tips
Brown leaf edges on ginger usually mean dry air or a sudden drop in humidity, not disease. Indoor heating in winter pulls humidity below 40%, and leaf edges dry first. Group pots together, place the container on a pebble tray, and keep the plant away from radiators. If the whole leaf browns and pulls away easily, check for root rot before misting, because a rotting root system cannot supply water and produces the same dry look.
Ginger Symptom, Likely Cause and First Action
Saving Ginger With Rotting Roots and Watering It Right
Ginger rhizomes rot when they sit in wet soil, and the plant can often be saved if the rot has not reached every bud. The rescue is the same whether the plant is in a pot or a garden bed, but potted ginger is easier to lift and inspect.
The Lift-and-Cut Rescue
- Lift the clump with a fork: slide a garden fork under the rhizome and lift it whole rather than pulling the stems, because pulling tears healthy rhizome away with the rotten part. Work on a sheet of newspaper so you can see the full clump.
- Cut back to firm, pale tissue: slice away every soft, brown or sour-smelling section with a clean knife, cutting 1 cm (0.4 in) into firm, pale yellow rhizome so no rot is left behind. Sterilise the blade between cuts with rubbing alcohol.
- Dust the cuts and replant: dust the cut faces with cinnamon or sulphur powder, leave the pieces in a dry, shaded spot for 24 hours so the cuts callus, then replant in fresh mix of two parts potting soil to one part perlite.
- Hold water for two weeks: water once at planting, then wait until the top 3 cm (1 in) of mix feels dry before watering again. New shoots usually appear from surviving buds within three to four weeks.
How Often to Water Ginger So Rhizomes Do Not Rot
Water ginger when the top 3 cm (1 in) of soil feels dry to the touch, which in warm weather is roughly every two to three days in a pot and every four to five days in the garden. In cool weather, stretch the interval to once a week or more. Ginger needs evenly moist soil, not constantly wet soil, and the difference is drainage: a pot with holes and a mix with perlite dries fast enough between waterings. Never let the pot stand in a saucer of water, and empty the saucer within an hour of watering.
When to Start Over Instead
Start over when the rhizome is soft throughout, smells sour when cut, or shows grey-green mould between the buds. A clump with no firm, pale section and no live buds cannot be rescued, and replanting it risks spreading the rot to fresh soil. Discard the whole clump in the household waste, wash the pot with hot soapy water, and start with a fresh, firm rhizome from a grocery or garden centre.
Drainage That Prevents Rot Returning
Choose a pot with drainage holes and a width of at least 30 cm (12 in), then fill it with a mix of two parts potting soil, one part perlite and one part compost. In the garden, plant ginger on a raised ridge 15 cm (6 in) high so heavy rain runs off rather than pooling around the rhizome. Mulch with 5 cm (2 in) of straw to keep moisture even without keeping the soil soggy.
Ginger Watering by Season and Container
Why Ginger Grows Tall and Thin With No Side Shoots
A ginger plant that stretches upward with one or two stems and no side shoots is responding to low light and a cramped rhizome, not to disease. Ginger branches from the rhizome, so the fix is to give the root zone more room and the leaves more light.
Light Is the Main Cause
Ginger needs at least six hours of bright, indirect light, and morning sun with afternoon shade suits it best. A plant kept in a north-facing room or more than 1 m (3 ft) from a window stretches toward the light and produces thin, pale stems. Move it to within 50 cm (20 in) of an east or west window, or outdoors to a spot with dappled sun. A stem that is pale green and longer than 60 cm (24 in) with wide gaps between leaves is a stretched stem.
Small Rhizome Pieces Give Thin Plants
A rhizome piece smaller than 3 cm (1.2 in) with a single bud produces one shoot and little else. Choose a plump piece with at least two visible buds, each about the size of a small pea, and plant it 5 cm (2 in) deep with the buds facing up. A larger piece has more stored energy to push several shoots.
Pot Size Limits Side Shoots
Ginger spreads sideways, so a pot narrower than 25 cm (10 in) stops the rhizome from branching. In spring, move the plant into a wider container measuring at least 30 cm (12 in) across, and lay the rhizome flat so its buds face different directions. A clump that fills the pot with roots but shows no side shoots is pot-bound and needs the wider container.
Feeding for Bushier Growth
A clump that keeps stretching instead of branching is usually being pushed with too much nitrogen, which builds tall, soft stems and few side shoots. Switch to a balanced formula and dilute it to half the label strength, applying it once every two weeks from spring to late summer only. Stop entirely in autumn, when shorter days slow the rhizome and unused nutrients sit in the mix.
Ginger Growth Habit: Cause and Correction
Ginger After a Cold Night: Damage and Recovery
Ginger is tropical and suffers below 15 °C (59 °F); a single cold night can collapse the stems and soften the rhizome. Recovery depends on how cold the rhizome itself got, and the plant is usually worth saving if the rhizome still feels firm.
Recognising Cold Damage
A chilled rhizome tells you its condition through the cut surface rather than the foliage: scratch the skin near the stem base and look at the flesh underneath. Firm, pale yellow tissue with a sharp, clean smell means the clump is alive and only the top growth was hit. Brown, translucent or sour-smelling flesh means the cold has already started rot, and that section has to come off before you do anything else.
The Cold Limit and Ideal Range
Ginger grows best between 20 °C and 30 °C (68–86 °F), and growth stops below 15 °C (59 °F). Bring potted ginger indoors when nights are forecast below 12 °C (54 °F), and in cool climates grow it as an annual or in a greenhouse. Garden clumps survive light frost if heavily mulched, but the rhizome can rot in cold, wet soil.
Recovery Steps After a Cold Night
- Move the plant to warmth: bring pots indoors to a room at 20–25 °C (68–77 °F) and keep them there until nights stay above 15 °C (59 °F). Warmth restarts rhizome growth faster than any fertiliser.
- Cut collapsed stems back: trim dead stems to 10 cm (4 in) above the rhizome with clean scissors, because dead stems invite rot at the base. Leave any green stem that still stands.
- Hold water until new growth: wait until the top 5 cm (2 in) of soil is dry and a new shoot appears before watering regularly, since wet cold soil is what turns cold damage into rot.
Protecting Ginger Outdoors
In mild climates, mulch garden ginger with 10 cm (4 in) of straw or leaves before the first cold night. In colder zones, lift the rhizomes after the first light frost, dry them for a day, and store them indoors in slightly damp sand at 10–15 °C (50–59 °F) until spring.
Ginger Temperature Thresholds
Ginger in Water, in Pots and in the Ground: What It Needs
Ginger grows well in a pot or a warm garden bed as long as it has warmth, drainage and a long season. The plant needs about 8–10 months of frost-free weather to make a harvestable rhizome.
Why Ginger Does Not Root in Water
Ginger rhizomes rot in a glass of water because the cut surfaces stay wet and oxygen-starved. The rhizome is a stem, not a root, and it needs air around it to sprout. To start ginger, plant a plump piece with two buds 5 cm (2 in) deep in damp potting mix at 20–25 °C (68–77 °F); shoots appear in three to four weeks. If you want to see roots first, rest the rhizome on pebbles so only the base touches water and change the water every two days, but soil is more reliable.
Soil, pH and Feeding
Ginger prefers loose, rich soil with a pH of 5.5–6.5. Fill the container with a light, airy blend that holds moisture without packing down, and top it with a little compost so the rhizome has food close by. A plant in poor soil produces small, thin rhizomes. Begin a diluted balanced feed only once shoots are 15 cm (6 in) tall, then repeat every two weeks through summer, and stop by early autumn so the rhizome ripens instead of pushing soft new growth.
Light and Spacing Outdoors
Outdoors, give ginger morning sun and afternoon shade, and space rhizomes 20–30 cm (8–12 in) apart so the clump can spread. In hot climates, shade cloth in the afternoon prevents leaf scorch. Indoors, a south- or east-facing window works if the plant gets at least six hours of bright light.
The Ginger Quick Care Facts
This card gathers the key numbers for ginger in one place, from the part you use to the storage temperature, so you can check them without scrolling through the whole article. Keep it handy at harvest time and when you adjust watering or light.
Ginger Quick Care Facts
- Part Used
- Rhizome and young leaves
- When to Harvest
- 8–10 months after planting, leaves yellowing
- How to Dry
- Air-dry 1–2 days, then store
- Storage Life
- Cool, dry, dark; 10–15 °C (50–59 °F)
- Light
- Bright, indirect; 6+ hours
- Water
- When top 3 cm (1 in) is dry
Harvesting, Drying and Storing Ginger Rhizomes
Harvest ginger when the leaves start to yellow and the stems fall over, usually 8–10 months after planting. Lift the clump with a fork, cut off the stems, and break away the rhizomes you need. Fresh ginger keeps for weeks if stored correctly, and drying extends that further.
When to Harvest
Harvest young ginger after about four months for a mild, juicy rhizome, or wait until the leaves yellow at 8–10 months for a pungent, fibrous one. In pots, tip the container on its side and lift the clump rather than pulling stems. Keep a few small rhizomes with buds to replant.
Drying and Storing
- Wash and dry the rhizomes: rinse off soil and pat dry with a cloth, then leave them in a shaded, airy spot for one to two days so the skin firms up. Do not leave them in direct sun, which softens the flesh.
- Store whole in a cool, dark place: keep rhizomes in a paper bag or a breathable box at 10–15 °C (50–59 °F) with low humidity. Whole ginger keeps for one to two months this way; sliced ginger freezes for up to six months.
- Dry slices for powder: slice rhizomes 2–3 mm (0.1 in) thick and dry them in a dehydrator at 50 °C (122 °F) or in a warm, airy room until they snap. Grind cooled slices into powder and store in an airtight jar away from light.
Why Stored Ginger Goes Mouldy or Shrivel
Mouldy ginger comes from moisture: condensation in a sealed bag, or rhizomes stored before they were fully dry. Shrivelled ginger comes from dry air pulling moisture out of the rhizome. Store whole rhizomes in breathable paper rather than plastic, keep humidity moderate, and discard any piece with blue-green mould or a sour smell.
Ginger Harvest and Storage by Stage
Dividing an Overgrown Ginger Clump Safely
An overgrown ginger clump can be divided in spring when new buds begin to swell. Dividing keeps the plant productive and gives you more plants, but the clump must be cut into pieces that each carry at least two healthy buds.
When and How to Divide
- Ease the clump out in spring: water the pot the day before, then tip it on its side and work the root ball free with your hands when new shoots are 5–10 cm (2–4 in) tall. Spring division gives each piece a full season to establish before cool weather.
- Cut into pieces with two buds each: use a clean knife to cut the rhizome into sections 5–8 cm (2–3 in) long, each with at least two plump buds. Discard any soft or brown sections rather than planting them.
- Replant at the same depth: set each piece 5 cm (2 in) deep in fresh soil, with buds facing up, and space pieces 20–30 cm (8–12 in) apart. Water once and wait for new shoots before regular watering.
Aftercare for Divided Ginger
Keep divided pieces in bright, indirect light and warm conditions of 20–25 °C (68–77 °F). New shoots usually appear within three to four weeks; until then, keep the mix barely damp and let the surface dry between light waterings. Feed at half strength once growth is visible.
Look-Alikes to Tell Apart
Ginger leaves can be confused with turmeric and galangal, both close relatives. Turmeric rhizomes are bright orange inside and its leaves are wider; galangal rhizomes are paler and the leaves are longer and stiffer. Check the rhizome colour and smell before assuming a plant is ginger, especially if you plan to eat it.
Ginger and Its Look-Alikes
Who Should Be Careful With Ginger
Ginger is a common kitchen herb, but some people should take care. Pregnant and breastfeeding women, children, and anyone taking medication should ask a doctor or pharmacist before using ginger regularly as a tea or supplement, because concentrated forms are stronger than the amounts used in cooking. People with gallstones or a bleeding disorder should also check with a health professional before taking ginger in large amounts. Traditional uses include brewing fresh ginger as a tea and adding it to cooking for flavour; these are traditional uses, not medical treatments. Affected leaves from a struggling plant are safe to use once washed and trimmed of damaged parts, but never eat a rhizome that is soft or mouldy.
Ginger rescue, watering and storage questions
How do I overwinter potted ginger indoors without it rotting or drying out?
Keep potted ginger indoors above 15 °C (59 °F) for winter and let the top 5 cm (2 in) of mix dry before watering, since wet cold soil turns dormancy into rot. Stop fertiliser in autumn, keep the pot out of saucers of standing water, and give bright light. If stems die back, trim them to 10 cm (4 in) and water only when the surface is dry.
Can I grow ginger from a supermarket rhizome that has already started to sprout?
Yes, a sprouting supermarket rhizome can be planted, but check it first: firm, pale yellow flesh with a clean smell is worth growing, while soft, sour-smelling or mouldy pieces should be discarded. Cut away any soft sections, let the cuts callus in a dry shaded spot, then plant in free-draining mix with the buds facing up and water only when the top 3 cm (1 in) of soil dries.
How do I stop fungus gnats and mould appearing on the soil surface of indoor ginger?
Fungus gnats and surface mould point to soil staying wet at the top. Let the top 3 cm (1 in) dry between waterings, empty the saucer within an hour, and top the pot with a thin dry layer of perlite or coarse grit so the surface dries faster. Improve airflow and avoid overwatering; sticky traps catch adults, and repot into a mix with perlite if mould returns.
Why is my ginger flowering, and does flowering affect the rhizome harvest?
Ginger flowering is uncommon indoors and usually signals a mature, well-grown rhizome rather than a problem. Flowering diverts some energy, so the rhizome may bulk more slowly while the flower spike is active. The rhizome remains harvestable; lift it when leaves yellow at 8–10 months, or cut the flower if you want growth directed back to the rhizome.
How much ginger can I harvest from one container-grown plant?
From one container-grown plant, expect a clump of rhizomes rather than a single large piece, with the harvest depending on pot width and season length. Ginger needs 8–10 months of warmth to size up, so a 30 cm (12 in) pot gives more than a cramped one. Lift the clump with a fork, break off what you need, and replant small firm pieces with buds.
Related articles
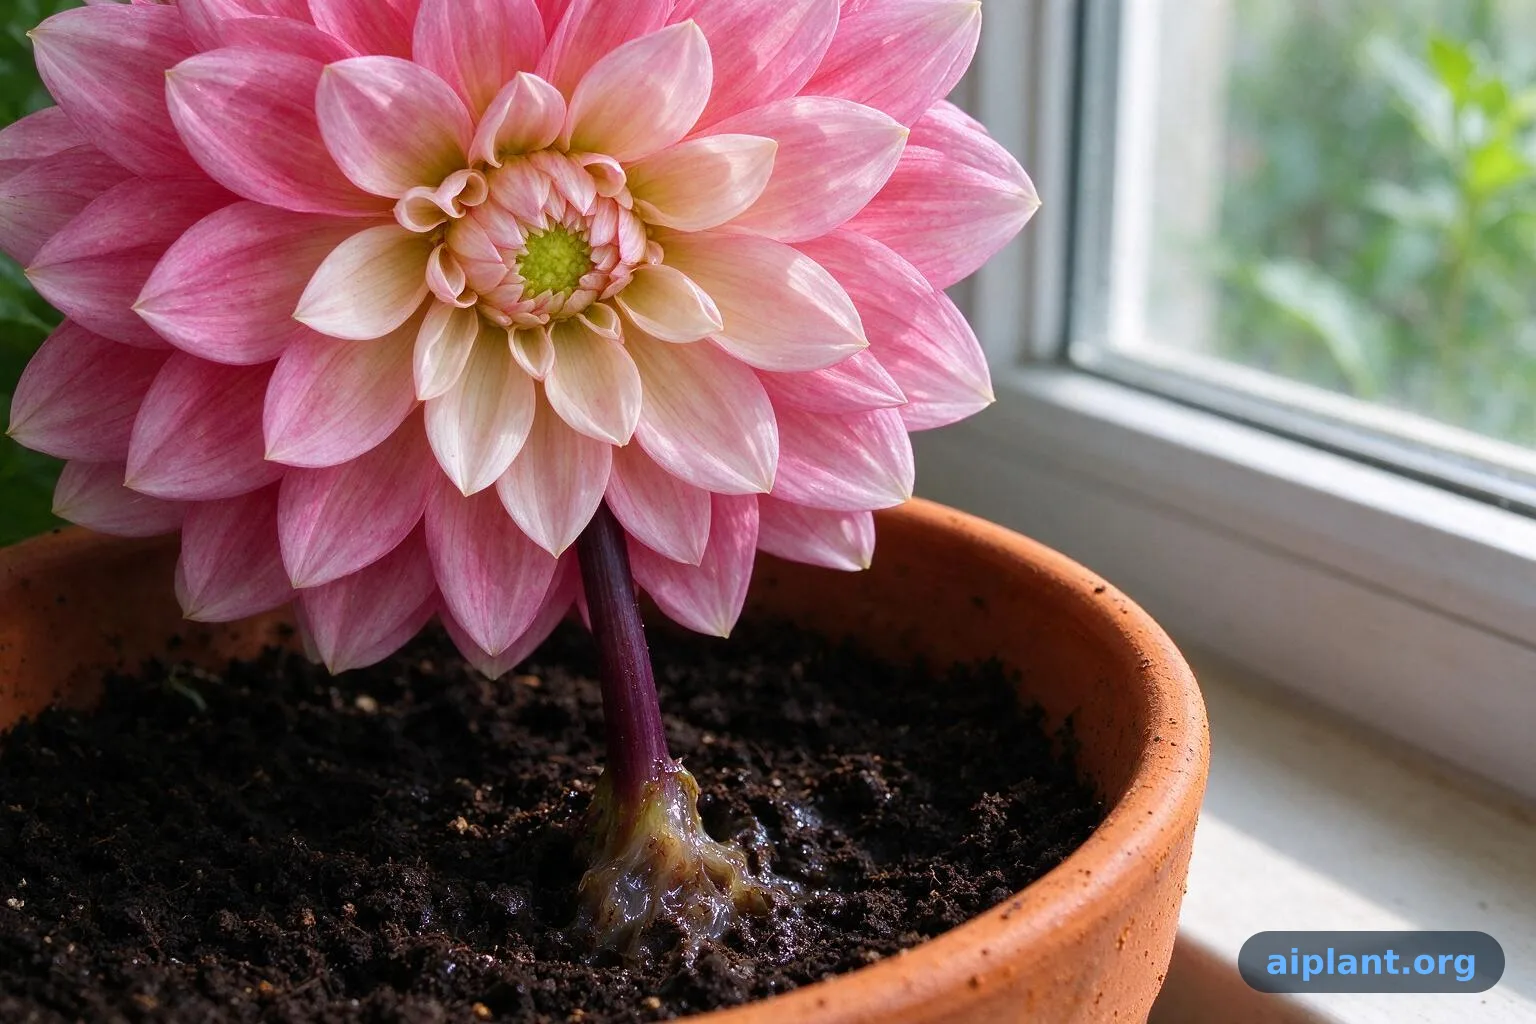
Dahlia Stems Going Mushy and Soil Never Dries Out?
Dry the root zone, cut the rot and keep the tuber growing
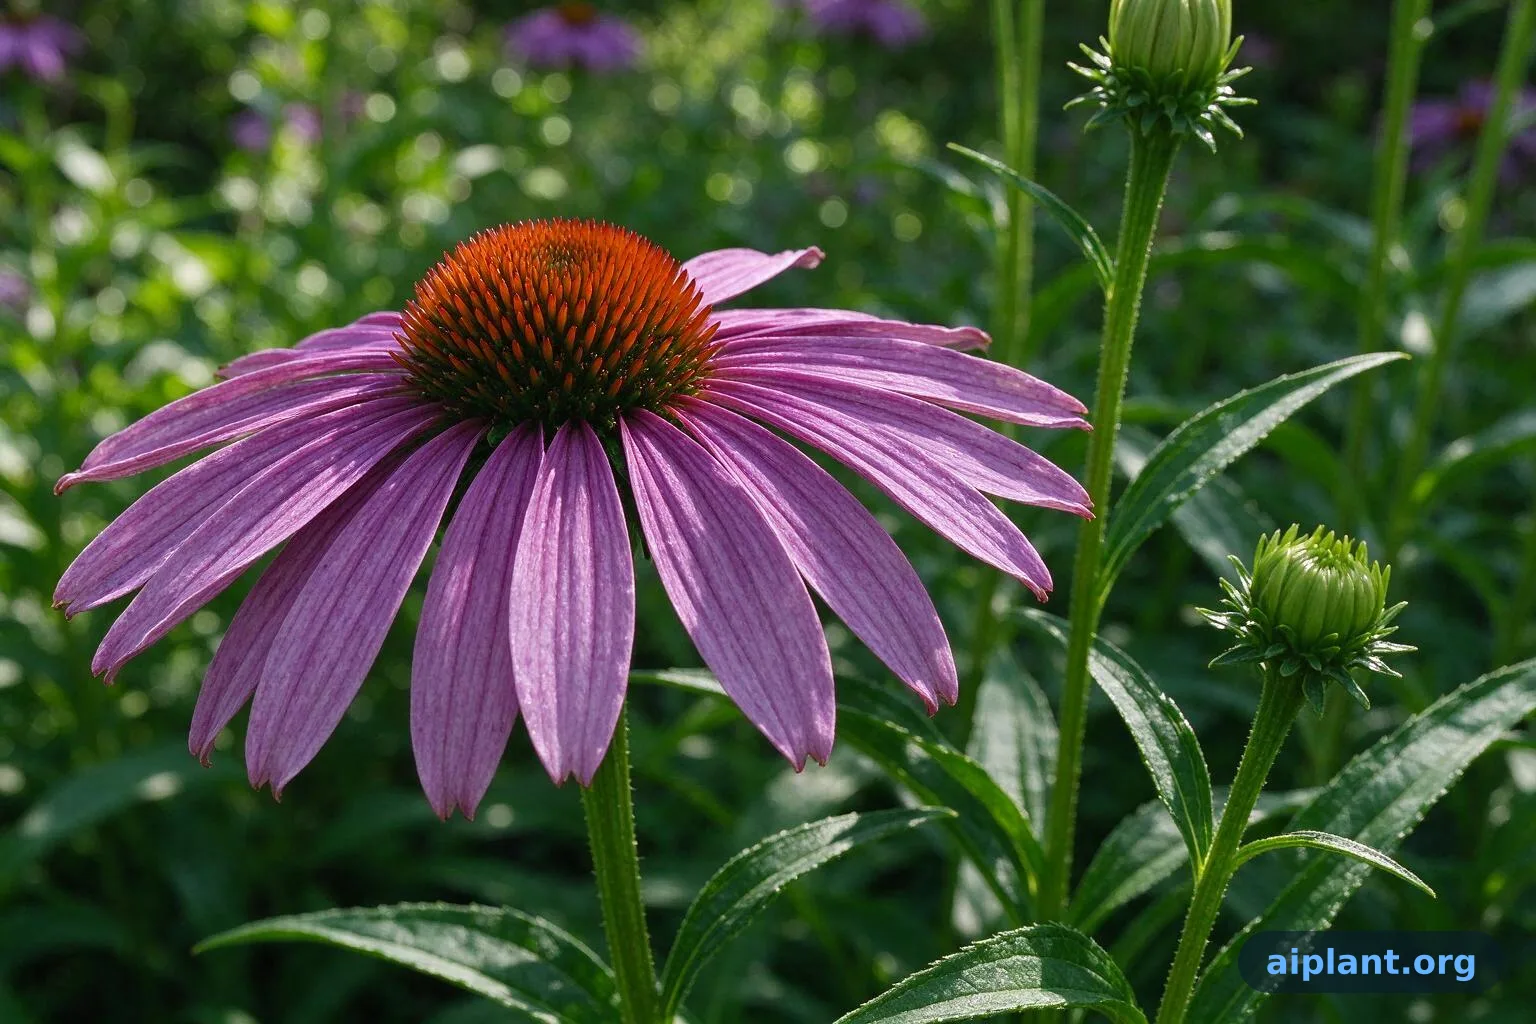
Why Is My Echinacea Not Flowering or Dropping Buds?
Find the cause in minutes and get your echinacea blooming again.
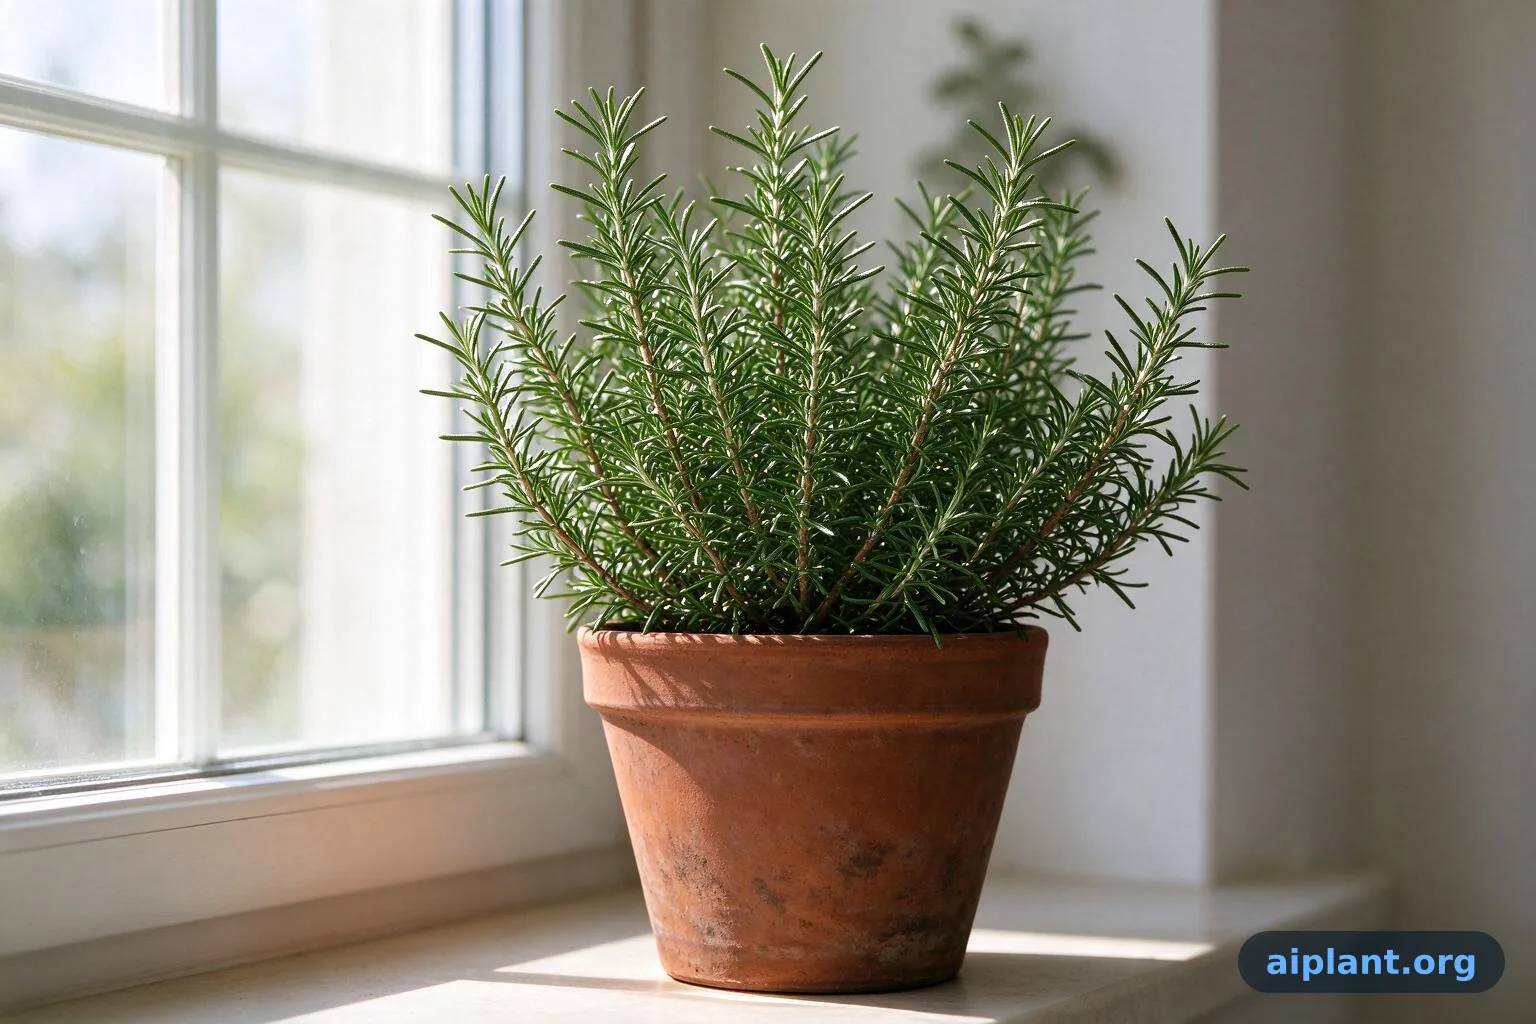
Why Is My Rosemary Not Flowering and How Do I Fix It?
Find the cause, fix it, and bring the blue blooms back.
Snake Plant Leaves Droopy and Soft?
Yellow Leaves & Root Rot First Aid